
I playtested my rules, A
Sergeant’s War, again tonight. This was a generic scenario set somewhere in the Hurtgen
Forest, November 1944. An understrength
American platoon has been ordered to clear a ridgeline of German
resistance. AAR and some discussion of the rules below.

Refinements continue, but I think the game tonight was another good test
of the system and the tactical result was realistic. Even better: it was a tense, fun game. The game is 1:1 troop scale, with a typical
table (2’x2’ or 3’x3’) representing an area a couple hundred meters
across. It emphasizes squad leaders and
morale.
Tonight's game is 6mm (a lot of my playtesting is done in this scale because it's so space efficient), but the game could be played with any scale.
Tonight's game is 6mm (a lot of my playtesting is done in this scale because it's so space efficient), but the game could be played with any scale.
 |
| The set up. Area was about 20"x20". Americans are attacking from the "bottom" of the board. |
The Americans are attacking with an understrength platoon, with 2 Sherman tanks due any
time to support, but the Germans have a Pz IV-H coming in as well. Both sides were regular troops with reliable
morale. The Americans had an advantage
in NCOs, with one per squad and a platoon leader—the Germans only have a single
leader in charge of their force.
 |
| Germans: 2x LMG teams, 10x riflemen, 1x leader, 1x Pz-IV H |
 |
| US: 3x 9 man squads w/1 BAR and leader each, 1x command element, 2x Shermans; one squad has a bazooka |
The game opened with the Americans moving into the
woods. As they make contact with the
Germans, fire is exchanged and there are several American casualties. The German foxholes provide good protection.


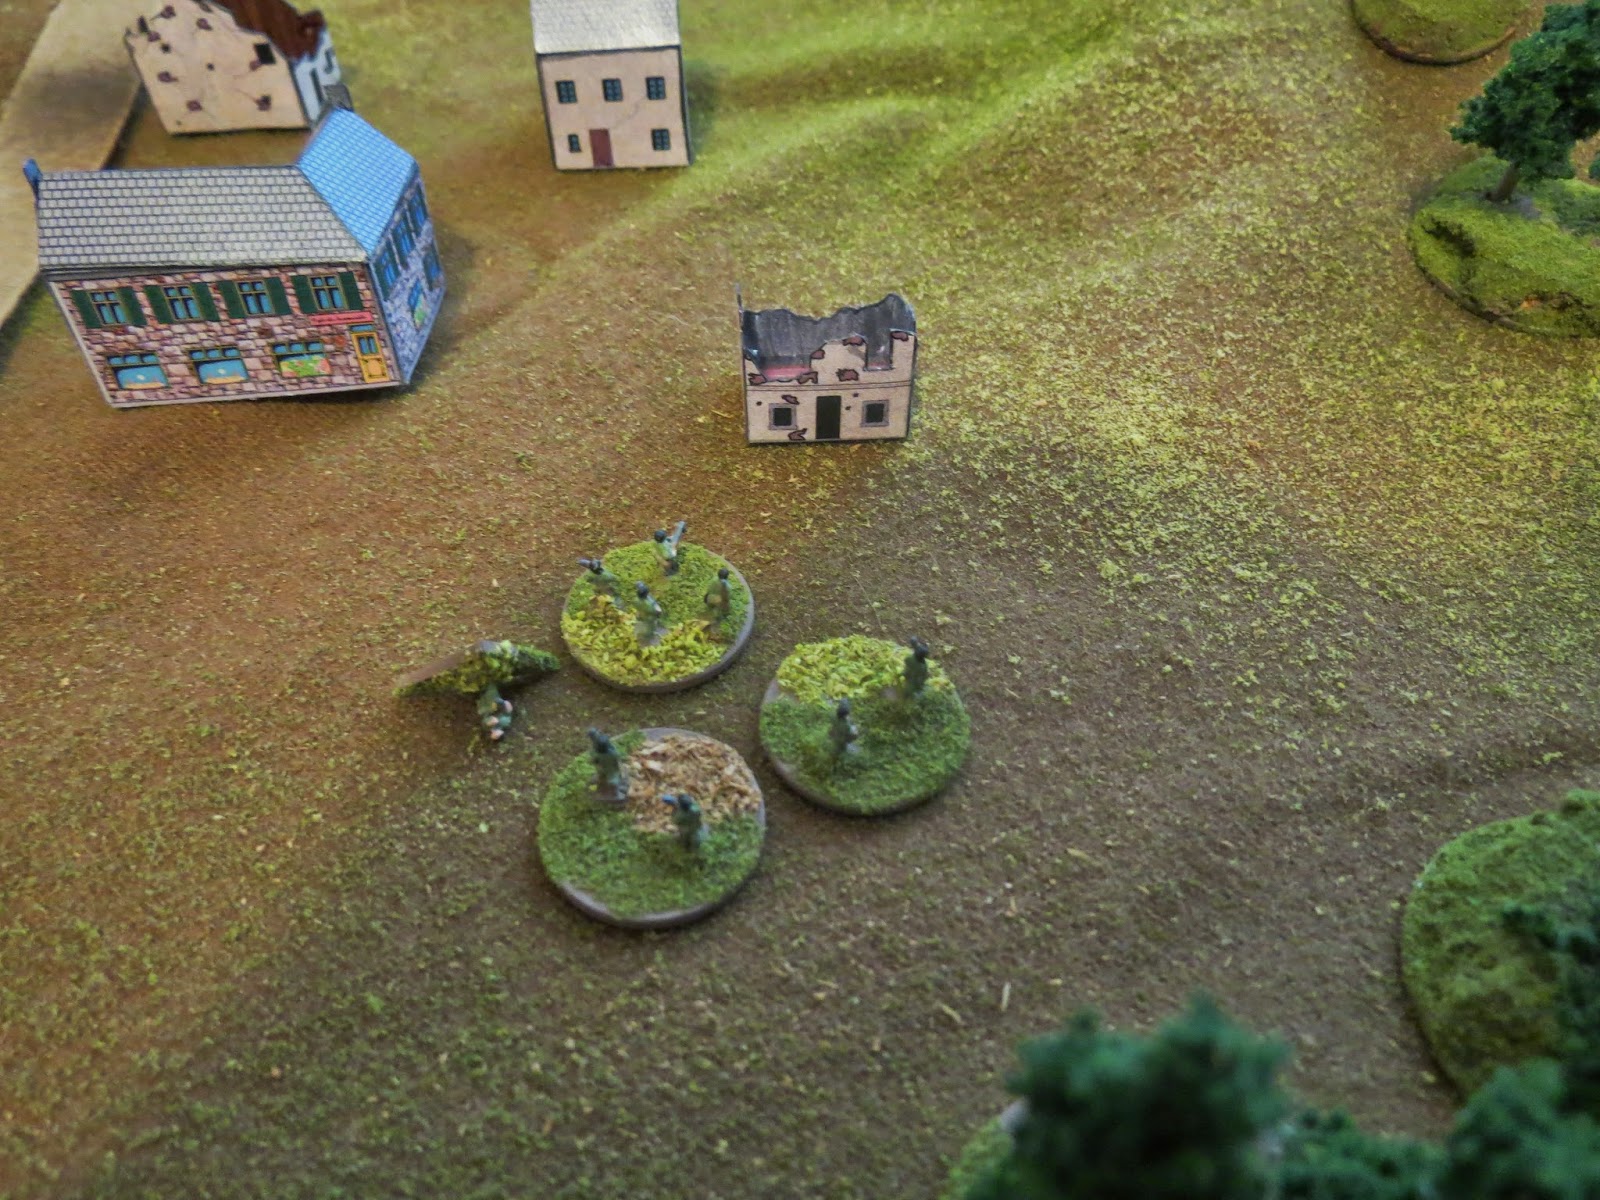
The Americans make an attempt to cross into the bombed-out
village, but take fire and waver. The
squad leader tries to urge his troops forward, but he’s hit by German fire. With him down, the squad retreats back into
the woods.
 |
| Squad leader hit |
 | |
| Broken |
 |
| A strong base of fire: 5 riflemen, the platoon leader, and an MG-42 |
The Shermans arrived then (roughly turn 3) and roll into
position, but fail to immediately acquire the German positions. They won’t be able to open up until next
turn.
The Pz IV arrives as well and unsuccessfully engages one of
the Shermans. The Sherman’s defensive
fire misses as well.
As one Sherman duels with the Pz IV, the other lays HE and
MG fire on the main German position on the hill. The other Sherman successfully damages the Pz
IV (which is later abandoned), leaving the Germans with no long range AT
ability.


As German casualties mount, the Americans make another move—but
the remaining German riflemen, stripped of their MG-42s, put up enough fire to
pin down the American advance. One squad
breaks and retreats—by this stage in the game, American casualties have damaged
the platoon’s cohesion enough that retreating troops can’t rally without direct
leadership, and the American platoon leader is occupied with the assault.
 |
| Smothered with HE and .30 caliber MG fire from the tanks |
 | |
| Shermans engaging the hill |
 | |
| American assault under heavy fire |
 | |
| American squad breaking and retreating |
One American squad is pinned down in the open for two turns
and is shot up. The platoon leader,
trying to urge the troops forward, is also hit.
The American infantry’s morale is weakening and they were
down to two maneuver elements, but the raw firepower of the Shermans finally
drives the Germans off the hill. One
squad is routed from its foxholes by 75mm fire, and the other voluntarily
withdraws. American victory…at a
price. The platoon of 38 men has
suffered 14 casualties, including two NCOs and the platoon leader. The Germans have 9 casualties and a damaged
and abandoned Pz IV.
 | |
| Germans cracking |
 |
| Retreat |
|
| Shot-up US force |
Realistically, I think the Germans would have engaged the
Americans briefly and then withdrawn to reverse-slope positions to force the
American infantry to leave their tank support—but I reasoned that the Germans
have hastily occupied this position, and their inexperience put them on the
forward slope in full view of American firepower.
I feel that my game is coming along nicely. Crossing open ground, even with fire support
and only against light enemy fire, is still difficult. Squad leaders are critical to keep the troops
moving.
Thanks for looking!
Game material notes:
The troops are mostly Heroics and Ros, with a few GHQ(I think) mixed
in. The trees are scratch-built. The game mat is a piece of brown flannel with
light a scattering of flock glued to it.
Hills are foam underneath the mat.
The road is felt. The buildings
are paper and are by Paper Terrain. Plastic game tokens are by Litko.
Great report! And good to see more 2'x2' and 6mm, I do it all the time.
ReplyDeleteThanks Shaun! Over the last few years, I've really downscaled---most of my stuff is now 15mm or smaller (except for Saga---and I might get a second Saga force in 15's so I can play at home). The kitchen table is the biggest surface in the house I can reliably set up on; my usual space is my hobby table, which has about 3x2 of usable space.
DeleteWell done, great report with nice pictures and explanations...
ReplyDeleteThanks, Phil!
DeleteBeing a small apartment dweller, I also like the 2' by 2' table size. Nice report and am enjoying your other reports and the gaming system itself looks good. I like the fact that when leaders lead from the front they put themselves in harm's way.
ReplyDeletePaul, thanks! Over the last few years I've downscaled my collections to 6mm and 15mm, so that I can take maximum advantage of the space I have. I haven't regretted it at all.
DeleteExpect your leaders to suffer very high attrition if you use them aggressively in the game. It's basically a 1 in 6 chance every time they lead from the front, which from my reading of WWII might be generous rather than strict.